Sunday, October 23, 2011

Card kits

I make samples for Dutch Paper Crafts and the last samples I made were from kits that Darlene has for sale on her blog right now. I made one or two samples from each kit so there are a lot of cards to share! These were really fun and easy to do.


There are 4 cards in each kit. The floral cards come with an envelope but the Christmas cards do not. They all fold flat for mailing and the Christmas cards do fit in an A2 envelope.

Saturday, October 22, 2011

One stamp two ways

I was looking through my Christmas digi stamps and found this. I believe I got it from Jak Heath but it is signed 'Jim'. After printing the stamp twice I colored them in two different colorways and made two different cards with the same stamp.


Wednesday, October 19, 2011

Scrappy Birthday

It has been a few days since I posted. I did make a sympathy card that I forgot to post but other than that I have been trying, once again, to re-organize my room. Why is it that you end up with a bigger mess than you started with. LOL.


This card came about  as I was throwing away the scraps from the sympathy card. I has the two circles with the flowers cut out left from the card I made. As I was about to throw them away I looked at them again and decided I could use them. I put them back in the Spellbinders dies, a circle and a rose creations die and embossed them. I then cut and embossed three flowers from a scrap. To fix the flowers in the negative part of the circle I used tape on the back and then put the flowers in the space. The sentiment is stamped on a Spellbinders tag and the circles, tag and flower are attached with dimensional tape. The patterned paper on the sides are just narrow strips which is all I had left of that paper so it truly is a Scrappy Birthday card!

Friday, October 14, 2011

Post-It Note card

One of the Card Camp members, Paula,  made some lovely cards with Post-It Note holders inside the card and I wanted to try it. This is my result.


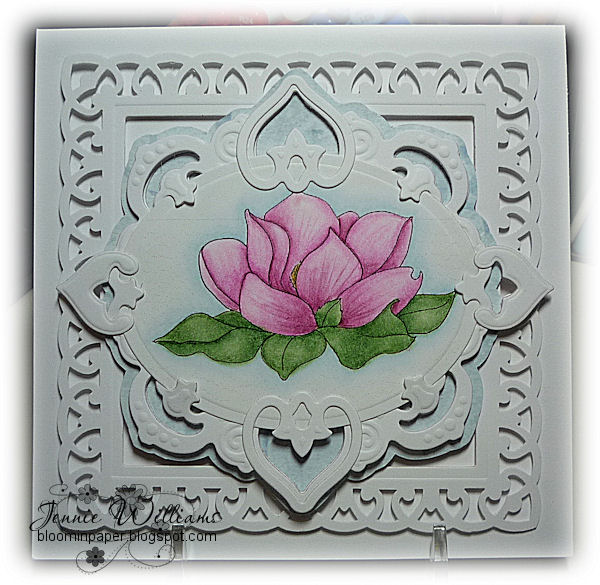
 This is the card when it is closed.

It opens up to be an easel card. The original directions can be found HERE I modified the directions to fit my card and the size of the Post-It Notes I used. You can see what  Paula did on her wonderful blog HERE.

What a great holiday gift these would make for co-workers, neighbors etc.! Now that I have got my feet wet I will be making more. They can be addictive!

Wednesday, October 12, 2011

Swaps

These are a couple of cards I made for swaps on Card Camp. The recipients have them now so I can share.

For this swap we had to use a scarecrow. I punched the leaves and then sponged them with tea dye distress ink. The leaves are just tacked down with a dot of glue so that they are dimensional.


This swap was a shimmer and shine swap. The flowers are painted with Twinkling H20's so they are very shimmery but it doesn't show in the picture. I put gold Stickles in the center of the flowers.

Tuesday, October 11, 2011

More In Spades

I have another card to share using the same dies.

For this card I just used the largest die and a couple of the negative bits from a previous card and a round Nestie. The rose is colored with Prismacolor pencils and I added a little sparkle to the petals with glitter. I also used, and messed up, liquid pearls but I thought I would share my boo boo too!

Sunday, October 9, 2011

In Spades

I bought the Spellbinders Pendant In Spades dies and forgot about them! Anyway now that I have discovered them I thought that I would try making a few cards using the dies and try to make them as different as possible.


On this card I used two of the dies and some of the negative pieces. The frame is made with a Martha Stewart Punch Around The Page set.


For the second card I used the same large die but with a different smaller die. On both cards I used a Nestie oval to cut out the image. Stay tuned for more using this die set!

Saturday, October 8, 2011

Snowman Face

I bought a new-to-me-punch around the page set of Martha Stewart punches so I had to use them. What I have discovered with these punches is that you have to cut your cardstock exactly the right size for the marks on the punches to line up exactly. I use a very old office type guillotine cutter that has rather a thick line for the inch mark and I learned that I have to have the edge of the cardstock exactly in the middle of the line. Not easy to do!


After punching the edges I used a square Nestie to make a frame. The doily is from a Marianne Designs Creatables die and I used a Martha Stewart punch to make the rosette. What doesn't show is the glitter on the rosette.

Thursday, October 6, 2011

Golden Butterfly

I have a stash of special papers that I have had for quite a few years. I don't know what I have been saving it for but it is paper that has always been too special to use! LOL Anyway after looking at it I decided to use a little of this beautiful gold paper that is all crinkled and soft.


I used a Cuttlebug embossing folder Textile Textures for the bottom panel and then a Spellbinders Label 14. I used a Nellie Snellen MFD 031 die on the label and then cut a smaller label and embossed it with the same embossing folder. The tag is Spellbinders Parisian Accents the butterfly a Martha Stewart punch and the flourishes are from a Marianne Designs Creatables LRO 116 die set. I was surprised that the beautiful gold paper showed up so well in the picture but it is even prettier in real life.

Wednesday, October 5, 2011

Birthday Wishes

This card has been mailed to someone whose birthday is today so hopefully she has gotten it.


I was inspired by a card kit to make this stand up card. I used Spellbinders Labels 20 dies and Parisian Accents also from Spellbinders. The 3d flower is from a sheet in my stash.

Monday, October 3, 2011

Challenge card

This is my first post for October! After the marathon in September I needed a break! Although I took a little break from posting I have still been busy making sample cards that I can't share yet. I can share this card though that I made for a challenge to use vellum on Card Camp.


I used a Cuttlebug folder on vellum and a sentiment from PTI Signature Christmas that I stamped with Colorbox Frost White ink. This is the first white ink that I have tried that really works! A few blue rhinestones finished it off.